BUS Creating a Backup Set
From SWCP Support Wiki
Creating a Backup Set with SWCP BUS Client
- Launch the BUS Client and login with your BUS username and password
- In the main menu, click on the Backup Sets icon.
- Click the "Add" button to create a new set.
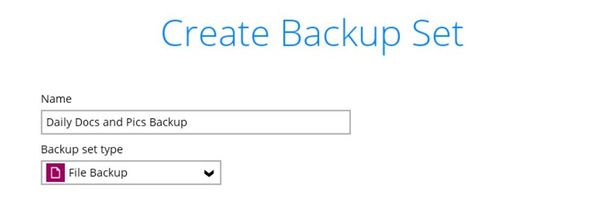
- Give the backup set a name, choose a backup set type ("File Backup", in most cases) then click "Next".
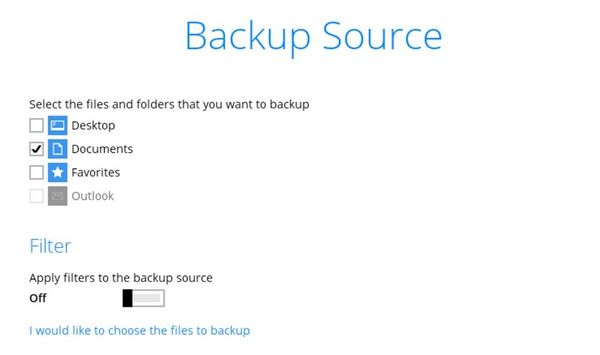
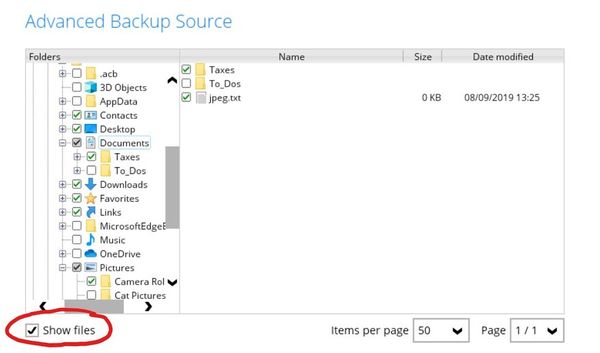
- In the Backup Source menu, check the folders that you would like to backup.
- You can choose from several common choices (Documents, Desktop, etc):
- Or click "I would like to choose the files to backup" select/deselect folders. Clicking "Show Files" will allow you select/deselect individual files:
- When done, click "Next"
- You can choose from several common choices (Documents, Desktop, etc):
- Configure your backup schedule
- NOTE: If you are doing a seed load to a local drive, leave scheduled backups off until the seed load is completed.
- You can turn scheduled backups on/off with the toggle switch
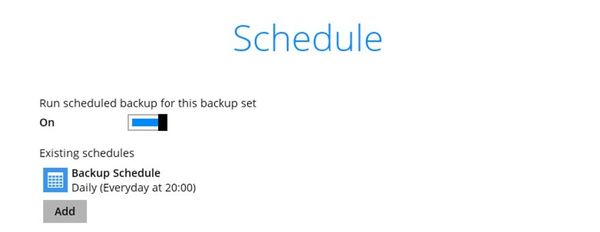
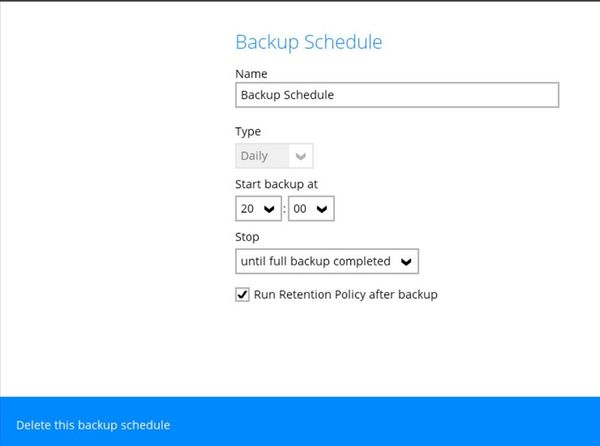
- To edit your existing schedules click the schedule under the "Existing schedules" list. You can edit the time it starts, days of the week it runs, and whether your retention policy is run upon job completion. To delete a schedule, click "Delete this schedule" (hidden in the lower left corner).
- Choose Backup Destination(s)
- In the Destination menu, click the "Add" button to add a new destination, then select "SWCP BUS Server" from the Destination Storage list and click "OK".
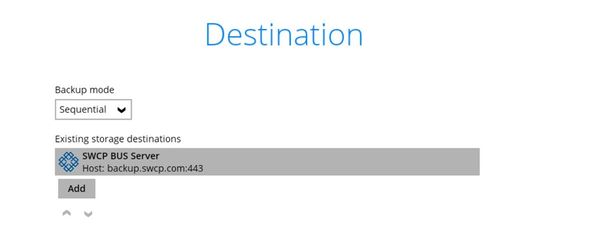
- You can also set a local mapped/removable drive (like an external usb hard drive) as a additional destination. We recommend this whenever possible.
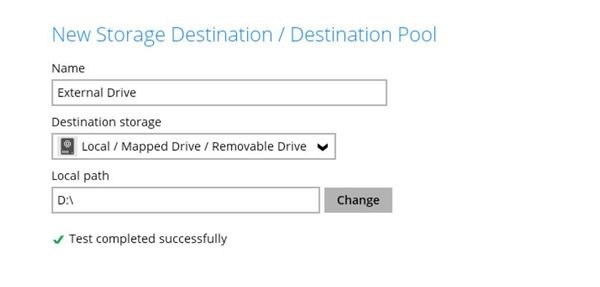
- In the Destination menu, click the "Add" button to add a new destination, then select "SWCP BUS Server" from the Destination Storage list and click "OK".
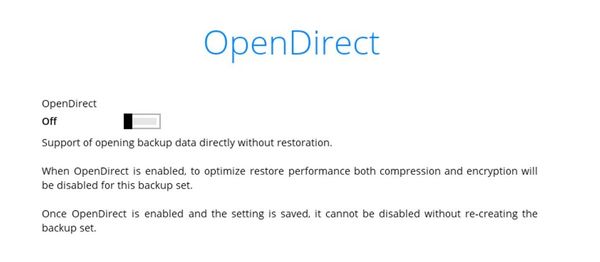
- In the Opendirect menu, leave the toggle "off" (it can't be turned on) and click "Next". We've chosen not to implement this feature since it requires disabling encryption and compression on the backup set
- Choose Encryption key and type
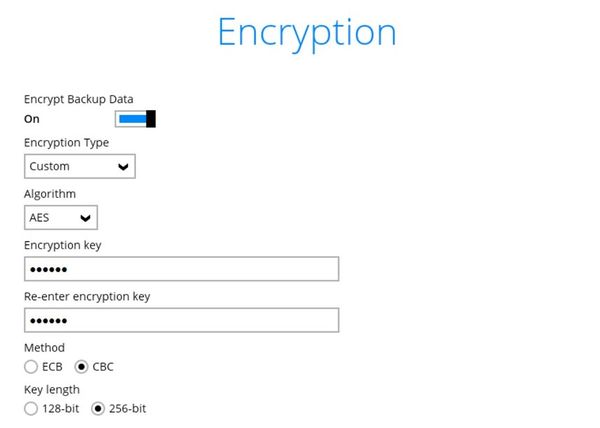
- In the Encryption menu you can choose to turn encryption on or off (we highly recommend leaving it on). There are 3 encryption options:
- Default: a strong, but highly unmemorable, random 44 character key
- User password: the same password as your BUS user account.
- Custom: your choice. We recommend using 256 bit AEC CBC encryption
- Default: a strong, but highly unmemorable, random 44 character key
- After you click "Next" the dialog box below will appear. You can see the key by clicking "unmask encryption key", and click "Copy to clipboard" if you want to paste it into a file or a password manager application
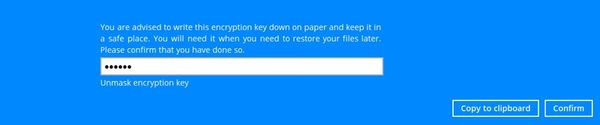
- Whichever encryption option you choose, write down the key in a safe place. SWCP cannot retrieve or change the encryption key. If you do not have the key, you cannot restore your data.
- In the Encryption menu you can choose to turn encryption on or off (we highly recommend leaving it on). There are 3 encryption options:
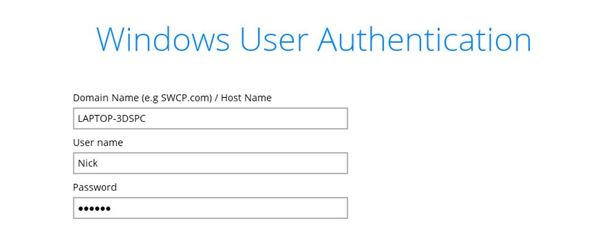
- In the Windows User Authentication menu (Windows-only), enter your Windows user information. For most home users, the Domain will be your computer name, and your local Windows username. Those fields will be pre-populated. Just enter your user account's password and click Next. If you are backing up a network share or other resource, and the scheduled backups need to run on another priviledged account, enter the appropriate domain and credentials here. Also note that if you use a Microsoft account as your user account login (an option feature on Windows 8 and later), the username is the email address tied to your Microsoft account, and the password is your full MS account password (not your PIN, if you've set one)


- In the final page of the setup wizard click "Backup Now" to begin a backup immediately, or "Close" if you are doing an initial "seed load" backup to a local drive, or need to make other adjustments (like changing the backup set's bandwidth settings).
