Back up and Restore Active Directory Objects with BUS
From SWCP Support Wiki
Background
The basic idea is you use a script to export the Active Directory Users and Groups objects to a file, then back up that data file with BUS. On restore, you recover the export file, then use import it to Active Directory.
Active Directory Export
- Install the BUS client on the Active Directory server.
- Download the ADuserbackup.zip file from ftp://ftp.swcp.com/pub/bus/ADuserbackup.zip
- Extract and place the files within the ${BUS-Install-Home}\bin directory.
- Create an export directory, for example C:\BackupDir
- Open the BUS client, ceate a file backup set for the AD objects backup.
- Select the export directory C:\BackupDir as Backup Source.
- Accept the default encryption settings if no change is necessary.
- Select the newly created backup set in the "Backup Settings" menu, select "Command Line Tool"
- Press "Add" under the Pre-Backup section on the right panel, then enter the following entries in the corresponding text fields:
- Working Directory: C:\Program Files\AhsayOBM\bin
- Command: RunADExport.bat fout:C:\BackupDir\fExport.ldf
- Press "OK" to save this setting.


Active Directory Import
- Open the BUS client software, select "Restore".
- Select the AD Export backup set from the backup set list, "Next", and then browse to the export file.
- Select the checkbox next to the fExport.ldf node and press "Start Restore"
- Import all or individual objects from the export file:
- Option 1 - To import all Users and Groups from the export file:
- In command prompt, navigate to the directory that RunADImport.bat resides in.
- Enter the command: RunADImport.bat fin:${Input_Location}\fExport.ldf
- Option 2 - To import individual User or Group from the export file:
- In command prompt, navigate to the directory that RunADImportUser.bat resides in.
- Enter the command: RunADImportUser.bat fin:${Input_Location}\fExport.ldf
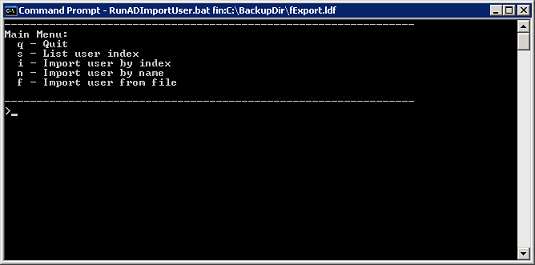
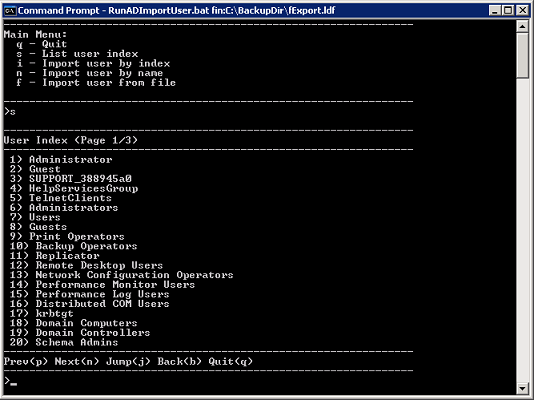
- Press 's' to list the user index ID.
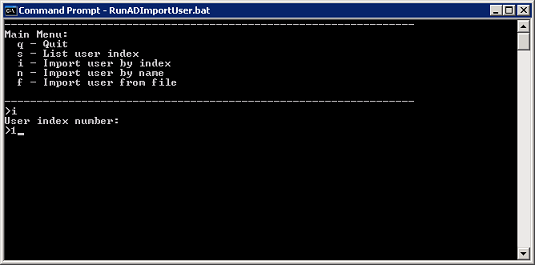
- Press 'i' to import user by index ID.
- Press 'n' to import user by username.
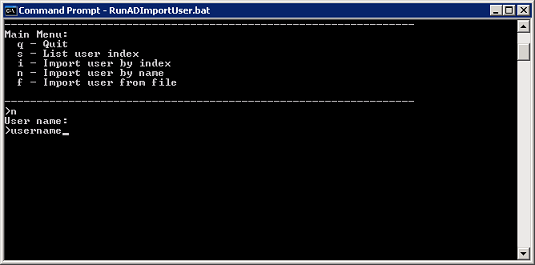
- NOTE: use double quotation marks for usernames with spaces.
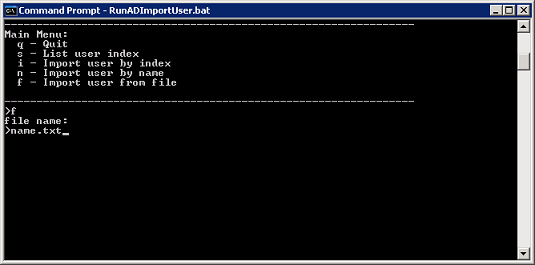
- If the name of the group or user cannot be typed in the command prompt or cannot be displayed from the user index:
- Create a text file (e.g. name.txt) with a single line of content 'user:${username}'.
- Press 'f' to import user from file.
- Option 1 - To import all Users and Groups from the export file:


